

The pursuit of the perfect manicure has evolved far beyond a simple file and buffer. In today’s world of stunning acrylics, long-lasting hard gels, and intricate nail art, the electric nail drill (often called an E-file) has moved from the backroom of professional salons to become an essential tool for serious nail technicians and home enthusiasts alike. It’s the game-changer that cuts prep time, refines shapes, and ensures flawless finish that manual filing simply can’t match.
But what exactly is a nail drill, how do you use it safely, and why is the type of nail drill bit you choose Like our premium Ceramic Nail Drill Bits from LUSCIOUS GLANCES—the most critical part of the equation?
This comprehensive guide is your roadmap to understanding, selecting, and safely mastering the electric nail file, transforming your nail work from amateur attempts to professional nail care.
The Power of the Nail Drill: Efficiency Meets Precision
An electric nail file, or nail drill, is a motorized handpiece designed to spin interchangeable bits at high speeds. Its primary function is to file, shape, smooth, and remove product from the nail plate quickly and efficiently.
Why Nail Professionals Rely on E-files
Manual filing is slow, physically taxing, and often struggles to handle the density of modern nail enhancements like acrylic nails and sculpted hard gels. The nail drill offers several indispensable advantages:
- Speed and Efficiency: What might take 15 minutes of strenuous manual filing—like removing a thick layer of dipping powder—can be done in minutes with a high-quality E-file. This dramatically increases service speed and profitability in a salon setting.
- Precision Shaping: The small, powerful bits allow for micro-precision work, especially around the delicate cuticle area and the sidewalls of the nail. This is crucial for creating perfect ‘C-curves’ and a flush finish that prevents lifting.
- Ergonomic Relief: It significantly reduces the repetitive stress and strain on the technician’s wrist and hand, allowing for longer, more comfortable workdays.
Anatomy of the Electric Nail File
A standard nail drill system comprises three main components:
- The Control Box/Power Source: This unit controls the speed (measured in revolutions per minute, or RPMs) and the direction of the drill’s rotation (Forward/Reverse).
- The Handpiece: This is the slender, pen-like device you hold. It contains the motor that spins the bit and the chuck that secures the nail drill bits.
- The Foot Pedal (Optional): Allows for hands-free control of the motor’s power or speed.
The Crucial Difference: Why Choose Ceramic Nail Drill Bits
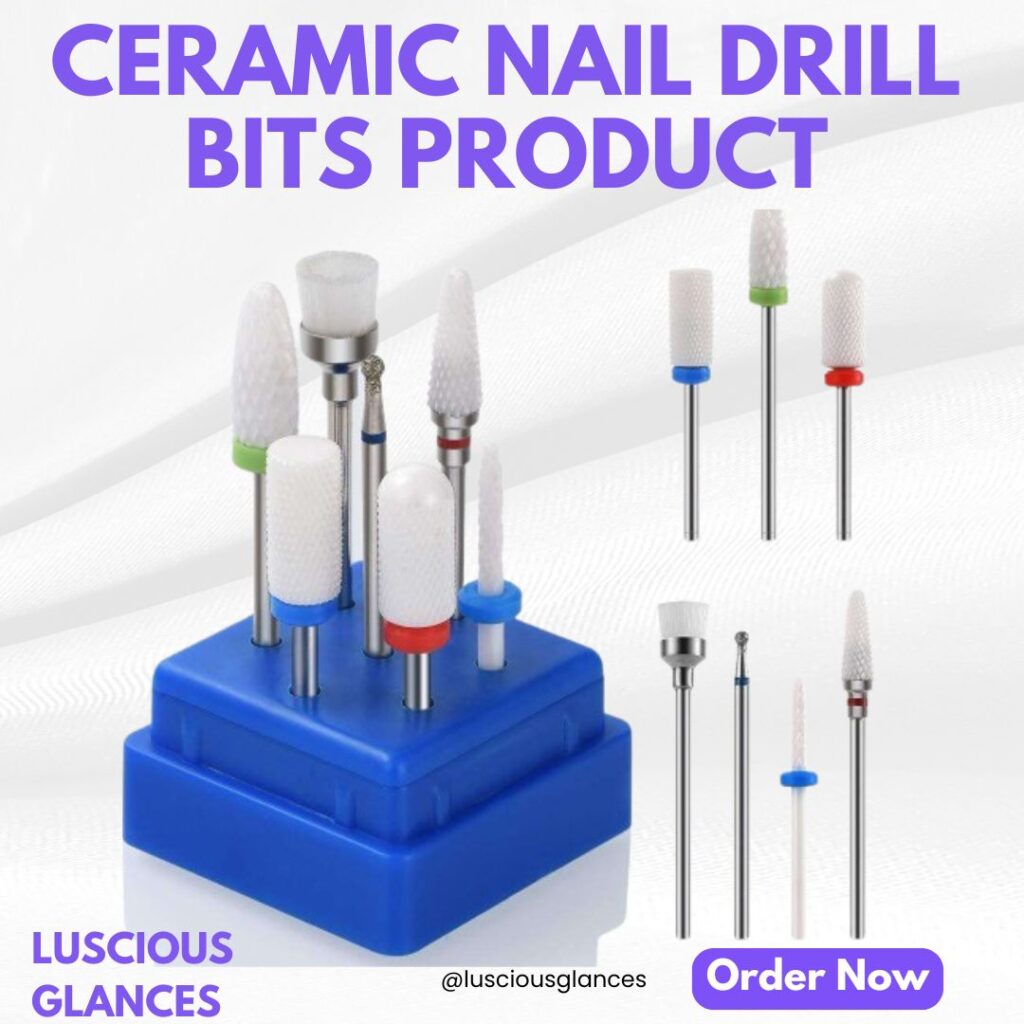
The handpiece is the engine, but the nail drill bit is the tool that performs the actual work. The market is saturated with options—carbide, diamond, sanding bands—but one material stands out for its superior performance, durability, and safety: Ceramic Nail Drill Bits.
At LUSCIOUS GLANCES, we specialize in ceramic bits for several key reasons, making them a cornerstone of true professional nail care:
1. Superior Heat Dissipation
One of the biggest concerns with electric filing is heat. Friction generates heat, which can cause an uncomfortable, painful burning sensation for the client. Ceramic Nail Drill Bits are designed to disperse heat far more effectively than traditional metals. This means:
- Client Comfort: A much cooler filing experience, drastically reducing the risk of friction burn.
- Extended Use: The bits themselves stay cooler, leading to less wear and tear and a longer lifespan.
2. Durability and Longevity
Ceramic is a remarkably hard, non-porous material. It is rust-proof, resistant to chemical corrosion from nail products, and holds its sharp-cutting pattern for a significantly longer time than other materials. Investing in LUSCIOUS GLANCES Ceramic Nail Drill Bits means fewer replacements and consistent performance.
3. Smooth, Quiet Operation
Ceramic bits generally offer a smoother, less abrasive feel on the nail and operate with less vibration. This translates to greater control for the technician and a more pleasant, quieter service for the client.
Decoding the Bits: A Guide to Nail Drill Bit Shapes and Grits
To use your nail drill effectively, you must understand that each bit shape and grit level serves a specific purpose. Choosing the wrong bit for a task can lead to damage to the natural nail or inefficient product removal. Our LUSCIOUS GLANCES collection includes all the essential shapes needed for a complete manicure :
Essential Bit Shapes and Their Uses
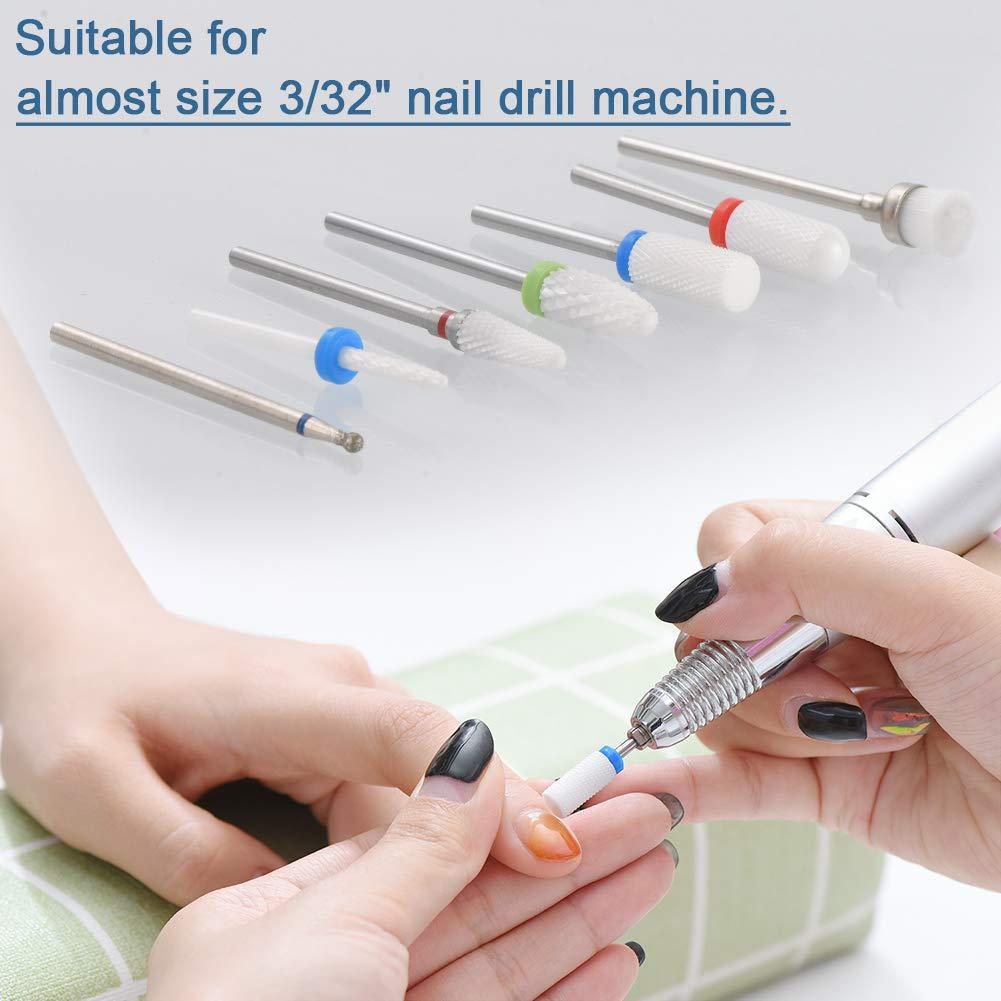
| Bit Shape | Primary Use | Where to Use |
| Barrel (Large Cylinder) | Quick gel polish removal, surface reduction, shortening and shaping acrylic nails. | Flat surface of the nail. |
| Tapered Barrel (Cone) | Product refinement, shaping the nail, and working closer to the cuticle without touching skin. | Side walls, free edge, and blending product. |
| Ball/Round Bit | Safe removal of excess skin/cuticle (Russian Manicure technique) and smoothing the eponychium. | Cuticle line and surrounding skin. |
| Needle/Flame Bit | Detailed work, lifting the cuticle, cleaning under the nail (hygiene), and removing lifting product. | Under the nail, deep cuticle pocket. |
| Mandrel with Sanding Bands | Gentle surface prep of the natural nail and finish filing (use only on natural nails/very low speed). | Entire nail plate. Export to Sheets |
Understanding the Grit Color Code
The rings found near the base of the bit indicate the coarseness, or grit. This color code is standard across the nail drill bits industry and is crucial for safe and targeted product removal. LUSCIOUS GLANCES bits follow this standard:
Yellow/Red (Fine/Extra Fine): Used for natural nail prep, light product refinement, and buffing.
Blue/Green (Medium/Coarse): The workhorses for bulk reduction of acrylics and hard gels, shaping, and aggressive gel polish removal.
Black/Dark Green (Extra Coarse): For maximum bulk removal of very thick enhancements; generally reserved for advanced technicians.
Safety First: How to Use Your Nail Drill Like a Pro
Safety is paramount in professional nail care. Improper use of an E-file can cause painful damage to the nail bed (called ‘nail rings’ or ‘drilling into the plate’). Follow these nail drill fundamentals every time:
1. Master the Speed (RPMs)
RPMs (Revolutions Per Minute) are the most important variable.
- Low Speed (5,000 – 10,000 RPM): Ideal for natural nail prep, detailed cuticle work with a ball or flame bit, and buffing.
- Medium Speed (10,000 – 15,000 RPM): Best for shaping, refining product structure, and working on the sidewalls.
- High Speed (15,000+ RPM): Reserved for bulk reduction of strong materials like acrylic. Never use high speed on the natural nail.
2. The Forward/Reverse Rule
The drill has a directional setting (F/R). Always file away from the central spin.
- When filing the left side of the nail (from the center outwards), set the drill to FORWARD (F).
- When filing the right side of the nail (from the center outwards), set the drill to REVERSE (R).
This technique ensures the bit is always pulling product off the nail and not pushing dust or debris into the nail folds.
3. The 45-Degree Angle and Light Pressure
Always hold the handpiece like a pen and keep the bit parallel to the nail surface or at a slight 45-degree angle. Never press down. The drill’s rotation does the work. Use a light, sweeping, continuous motion—often called the “scrubbing” technique—to prevent friction heat from building up in one spot.
4. Proper Maintenance for Longevity
Clean your Ceramic Nail Drill Bits after every use with a dedicated brush and an ultrasonic cleaner or alcohol solution. This removes dust and debris that can harbor bacteria and dull the bit’s effectiveness. Proper care ensures your investment in LUSCIOUS GLANCES tools lasts for years.
Taking Your Skills to the Next Level with LUSCIOUS GLANCES
Using a nail drill is a skill that takes practice, but the precision and professional finish it offers are worth the effort. By understanding the function of each bit, particularly the heat-reducing superiority of Ceramic Nail Drill Bits, you can elevate your technique while prioritizing client comfort and safety.
Whether you are performing intricate gel polish removal or meticulously preparing the nail plate for a new set of acrylic nails, the right tools make all the difference. Explore the complete collection of LUSCIOUS GLANCES E-file accessories and start delivering truly exceptional, salon-quality manicures today!
Why Sterilization is Non-Negotiable
The process of filing nails generates dust—a mixture of dead skin cells, nail debris, and product material (like acrylic or gel). This dust is a breeding ground for microorganisms. When a nail drill bit contacts the nail and surrounding skin, it can pick up bacteria, fungi, and viruses.
The Risks of Poor Hygiene:
- Fungal Infections (Onychomycosis): These are easily transferred via unsterilized tools and thrive in the warm, dusty environments of nail salons.
- Bacterial Infections: Improper cuticle work, even minor nicks, can introduce bacteria (like Staphylococcus) into the bloodstream via dirty bits, leading to localized infections or more severe complications.
- Viral Transfer: While less common than bacterial/fungal issues, viruses like HPV and Hepatitis can theoretically be transmitted via blood or bodily fluids present on uncleaned tools.
Professional nail care demands that every single tool that touches a client be thoroughly cleaned and sterilized or disposed of.
The Three Pillars of Tool Hygiene
Hygiene and sterilization are two separate, but sequential, steps. You must clean before you can effectively sterilize.
1. Cleaning: Removing Visible Debris
The first step is always to remove physical debris. If you try to sterilize a bit covered in dust, the debris will simply protect the microorganisms underneath.
- Initial Brush-Off: Immediately after use, turn your drill off and use a stiff-bristled nylon or brass wire brush to scrub the grooves of the nail drill bit. This removes the majority of the powder and dust.
- Ultrasonic Cleaner: For the best results, place your Ceramic Nail Drill Bits (and other metal/ceramic tools) into an ultrasonic cleaner with a hospital-grade, EPA-registered disinfectant solution. Ultrasonic waves create microscopic bubbles that implode, shaking loose microscopic particles from the bit’s surface. Run this cycle for the time specified by your disinfectant.
2. Disinfection: Killing Most Germs
After cleaning, the tool must be immersed in a liquid chemical disinfectant. This process kills most vegetative bacteria, fungi, and some viruses, but not bacterial spores.
- Use a Barbicide or Quaternary Ammonium Compound (Quat): Ensure your disinfectant is diluted correctly (read the label) and is approved for use on salon implements.
- Full Immersion: The bit must be fully immersed for the specified contact time (usually 10-20 minutes). Never remove the tool early, as this breaks the disinfection chain.
- Rinse and Dry: After the contact time, rinse the bit with clean water and allow it to air-dry completely on a clean towel before storage.
3. Sterilization: Total Elimination
Sterilization is the highest level of decontamination, which kills all microbial life, including spores. While chemical disinfection is acceptable for many states’ regulations, true professional nail care favors sterilization, especially for tools that might break the skin barrier.
- The Autoclave: This is the gold standard, using high-pressure steam and heat to kill all microorganisms. Tools must be placed in sterile pouches before being run through the autoclave.
- Dry Heat Sterilizer: These use high heat without moisture and are also highly effective. Ensure your bits (especially ceramic and carbide) are rated to withstand the high temperatures.
Hygiene Protocol for the Technician
Hygiene isn’t just about the tools; it starts with the technician and the workspace.
- Hand Washing: The single most effective infection control step. Wash hands thoroughly before and after every client.
- Gloves: Wear clean, disposable gloves for every single service. Gloves protect both the technician from constant contact with chemicals and debris, and the client from any germs that may be on the technician’s hands.
- Workspace Sanitation: Wipe down the entire work area, including the lamp, table, and the outer casing of the nail drill handpiece, with a surface disinfectant between every client.
- Dust Control: Use a high-quality nail dust collector or an integrated ventilation system. This minimizes the amount of contaminated dust particles floating in the air, which can be inhaled by both the technician and the client.
By making rigorous cleaning, disinfection, and sterilization a non-negotiable part of your routine, you uphold the highest standards of professional nail care, protect your clients, and ensure your investment in tools like the LUSCIOUS GLANCES system remains safe and effective for years to come.


.